Before attempting this configuration you should have some understanding on how the following are done or configured in Microsoft window server 2008 or 2003.
- Assigned a standard name to the computers or server you intended to configure with a DNS server.
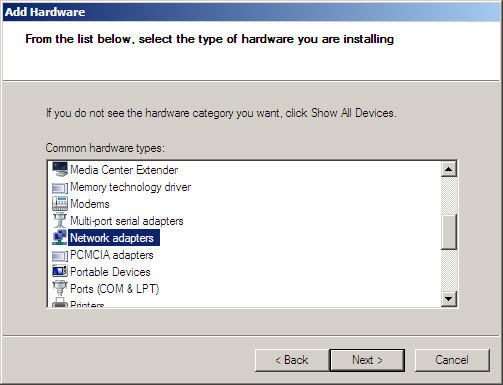
- Add and install a DNS role to both window server computer configured for primary and secondary DNS server.
- Configured the TCP/IP of the primary and secondary DNS server
- Created a zone in the forward lookup zone in the server bearing the primary DNS server computer.
- Add some resource records to primary DNS server
- The basic requirements in order to prepare zone transfer between the primary and secondary DNS zone server
- You have two computer or server configured as primary and secondary DNS server in the network.
To configure a Primary and Secondary DNS server for zone Transfer in window server 2008 or previous. Some basic understanding of Start of Authority (SOA) Resource record is essential.
We are using two window server 2008 computer for the zone transfer configuration, this server are name ascomput01 (primary DNS zone server) and comput10 (secondary DNS zone server) see diagram below for the two window server.
You can see from the diagram representing the two servers, that the resources record in the primary DNS zone server is not replicated to the secondary DNS zone server yet. This because the transfer zone is not yet configured in the primary DNS server for the domain name that is configured in the zone, in this case the student.com zone
You can see from the two server DNS console that comput10 configured with the secondary dns zone has a X sign because the zone transfer has not be configured in the primary DNS zone that host the student.com domain namespace zone. See diagram below

To configured or resolve a zone transfer in the primary DNS server to replicate to secondary dns server follow the step by step guide
- On the primary DNS server and secondary DNS server – Open a DNS console of both server and verify that the resource record has or has not been transfer to secondary DNS server. see diagram below.
- Expand the forward lookup zones of both primary DNS server and secondary dns server
- Click on the domain Name in the forward lookup zone of both primary DNS server and secondary dns server – verify the records if you have one created in the primary DNS server. see the diagram above for details
Only primary DNS server is required for the remain configuration steps, using the diagram below.

- Right click on the domain zone name in the forward lookup zone of the primary DNS server – click properties
- On the dialog box that appear – click on zone transfers
- Click or select allow zone transfers
Note – Under the following zone transfer options the following can be selected. However this depends on much control you as administrator need to have on how zone are transfer between primary and secondary DNS server and the number of DNS server available in the network.
- Select the any server, for simplicity of this tutorial
- Clicks apply and click Ok
Lastly, right click the domain zone name in the forward lookup zone in secondary server and click refresh. See diagram below

All the records in the zone of the primary DNS server are transferred to the secondary dns zone, see diagram above.